
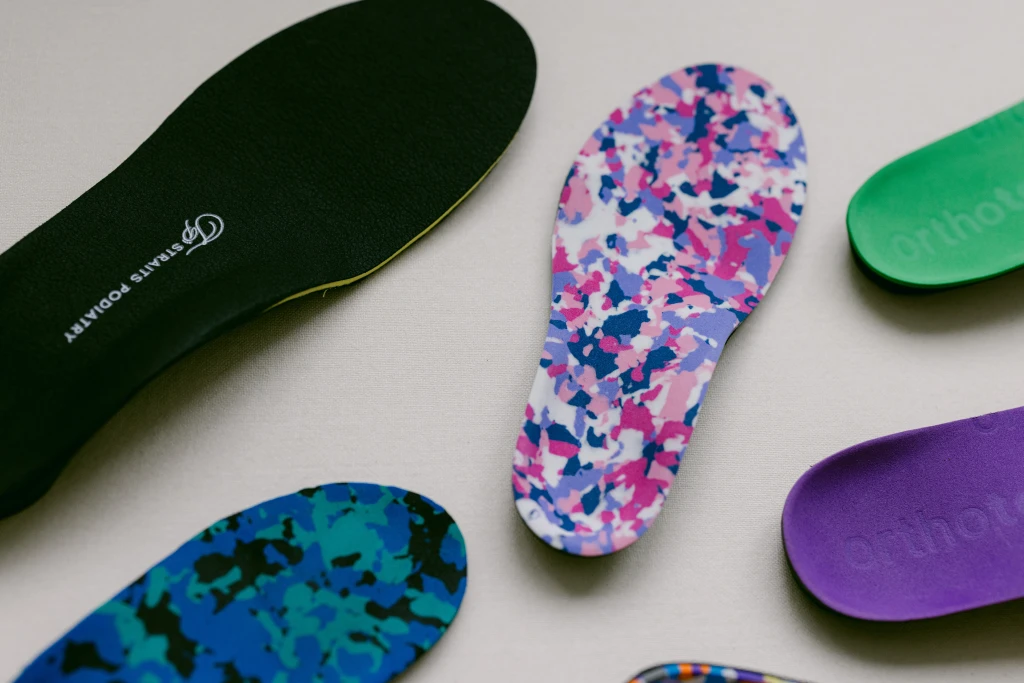
If you have flat feet and have been told the answer is "wear an insole with arch support", you have been given half the picture. A piece of foam pushed up under your arch is not what changes flat-foot mechanics. In many cases, it is exactly what makes an insole uncomfortable enough to end up in the bin after a fortnight.
A flat-foot insole is a small piece of biomechanical engineering. The arch shape on top is the most visible feature, but it is not the one doing the work. What changes how a flat foot moves is a combination of subtle angles, force vectors, and shaped surfaces, each placed for a specific reason. Below are the five features that decide whether a flat-foot insole will work for you.
Why arch support alone does not work for flat feet
The popular logic is intuitive: the arch has collapsed, so push it back up. The problem is that a flat foot is not a passive structure waiting to be propped. It is an actively pronating foot, where the heel rolls inwards and the arch drops because of the forces travelling through it during stance and gait.
Place a high arch under that foot and two things happen. The arch is in painful contact with a surface it does not want to touch, so the wearer reports pressure, burning, or a sensation that the insole is "digging in". And because nothing has changed about the heel or the rearfoot, the foot continues to roll inwards over the support. The arch shape becomes a bump the foot pronates around, not a feature that reorganises movement.
A well-designed flat-foot insole does not try to lift a collapsed arch. It changes the posture of the rearfoot first, so the arch rises as a consequence of better alignment, not as a pressure point. Arch contact still matters, but its job is to maintain the new posture, not to create it.
Feature 1: Rearfoot varus tilt
The first feature is invisible from above. Look at a well-made flat-foot insole from the heel end and the heel seat is tilted slightly inwards, with the inside edge higher than the outside. This is called a rearfoot varus post, and it does the structural heavy lifting.
In a flat foot, the calcaneus is everted, tilting outwards relative to the leg. That eversion drives the rest of the chain: the talus rolls forward and inwards, the midfoot unlocks, the arch flattens. Tilting the heel back towards vertical at the start of stance, before the rest of the foot lands, gives the whole mechanism a head start towards a more neutral position.
The angle of the tilt is graded. Too little and the insole does not change posture. Too much and the wearer feels tipped to the outside of the foot, which is often where over-aggressive off-the-shelf orthotics fail. The angle has to match the foot.
Feature 2: A correctly placed arch peak
Once the rearfoot is doing its job, the arch shape can do its job too, maintaining contact and proprioceptive feedback along the medial longitudinal arch as the foot transitions through stance.
The most common error in cheaper insoles is not arch height. It is arch peak location. Every foot has a position along the arch where its apex actually sits, and this varies between feet. Place the peak too far forward and the insole pushes against the metatarsal heads, creating a burning, forefoot-pressure complaint. Place it too far back and the insole presses against the calcaneal-cuboid region, which offers no functional support.
A properly cast insole places the arch peak where the wearer's anatomical arch peak sits, so the shape feels like the floor of the foot rather than an object underneath it. This is one reason custom insoles feel different from off-the-shelf alternatives even before the wearer takes a step.
Feature 3: A deep heel cup
The third feature is the heel cup, and the rule is the same as the rearfoot tilt: depth has to match the foot, not impose a generic curve.
A deep heel cup does two jobs. It captures the fat pad of the heel and keeps it cushioning under the calcaneus rather than spreading at heel strike. And it physically holds the heel in a more neutral position, resisting the tendency to roll inwards. The deeper the cup (within reason), the more rotational control it provides through the early phase of stance, and the arch shape above it has a stable platform to work from.
Feature 4: Supination forcing through a medial skive
The fourth feature is the medial skive: a small extra inward tilt cut into the inside of the heel cup. Combined with the varus tilt of Feature 1, the skive applies what is sometimes described as a supination force, gently rotating the foot away from its pronated resting position. This is where most of the corrective work happens.
Skive depth is graded like the varus angle, matched to how much the heel is everting. A mildly pronated foot may not need a skive at all. A heavily everted foot benefits from a deeper one. The wrong depth either leaves the foot under-controlled or pushes the wearer onto the outside of the foot, and either error shows up on day one.
Feature 5: The kinematics vs kinetics balance
The fifth and most under-appreciated feature is the balance between kinematics and kinetics across the whole insole. Kinematics is the angular change in foot posture: how much the heel is tilted, how much the arch is raised, how much rotation is applied. Kinetics is the forces delivered into the foot: how hard the heel cup pushes, how much load travels through the arch, how the medial skive applies its turning force.
An insole high on kinematics and low on kinetics looks correct but feels mushy and produces no behavioural change. One high on kinetics and low on kinematics feels aggressive, with the wearer reporting pressure points and an insole that "fights" the foot.
The skill of design is balancing the two so the angular change is delivered through tolerable forces, distributed across the foot rather than concentrated under one feature. The same flat foot can usually be improved with several valid combinations, and the best is the one the wearer can live in all day. Posterior tibial tendon dysfunction is a case where the kinetics have to be pitched carefully, because the medial structures are already irritated and an over-aggressive insole will inflame them further.
How a podiatrist matches features to your specific flat foot
The five features above are tuneable parameters that have to be set against the anatomy and behaviour of one foot. Two patients with the same diagnosis can walk away with insoles that look different on the bench, because their rearfoot eversion, arch peak position, heel pad volume, and tolerance for kinetic load all sit at different points on the dial.
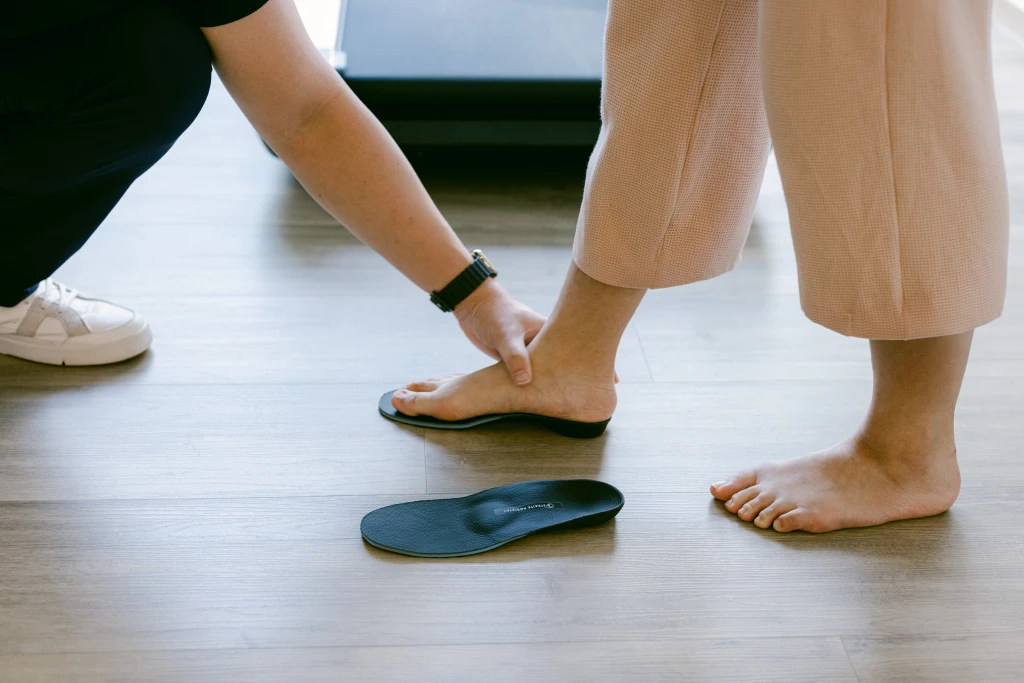
The clinical workflow starts with a static and dynamic assessment of how the foot is loaded and how it moves through gait. A flexible flat foot that reduces in non-weight-bearing needs a different prescription from a rigid one. A heavier patient delivers different loads than a lightweight runner at the same angle. A foot already in pain from PTTD or medial midfoot strain needs a more conservative kinetic start than an asymptomatic foot being insoled for prevention.
Custom flat-foot insoles are built from this assessment, with each feature set individually rather than picked from a library of pre-made shapes. The result is an insole mechanically configured for the foot it is going in.
If you have flat feet and have tried off-the-shelf arch supports without success, that is not a sign that insoles do not work for you. It usually means the insoles were missing one or more of the features above, or had them set in a generic configuration. A podiatrist-led assessment is what turns the checklist back into an insole you can wear. To arrange one, see our podiatry team or book an appointment at the clinic that suits you.